Finding your ring size at home comes down to measuring your finger’s inner circumference or diameter, then matching that number to a standard US ring size chart. You can do this three ways: wrap a strip of paper or string around your finger, use a printable ring size chart from a trusted source, or slip on a physical ring sizer. Each method works, though accuracy varies.
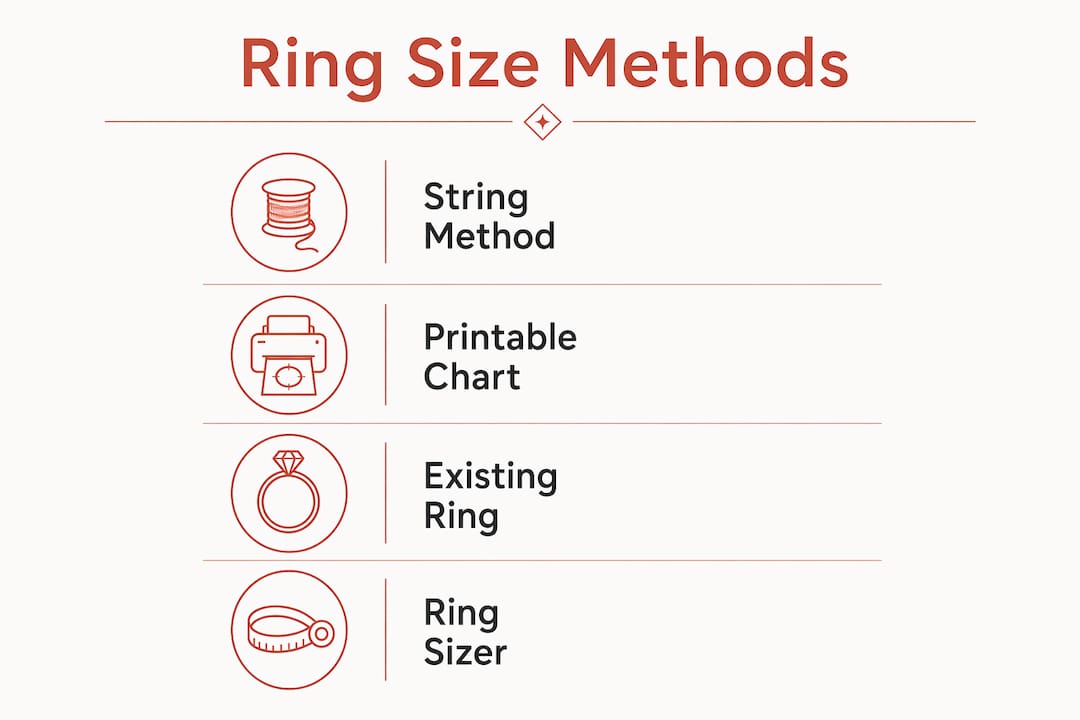
- String or paper strip: Wrap, mark, measure in millimeters, match to a chart
- Printable ring size chart: Print at exactly 100% scale, place over circles to match
- Existing ring: Measure the internal diameter, compare to a conversion chart
- Physical ring sizer: Adjustable plastic tool that mimics an actual ring for the most reliable DIY result
For reference, US women’s ring sizes typically range between 5 and 7, with 6 being the most common. Men’s average ranges from 9 to 11.
Pro Tip: A physical ring sizer gives you the most dependable at-home measurement because it behaves like a real ring on your finger, accounting for knuckle resistance in a way that string alone cannot.
Table of Contents
- Why ring size matters more than most people think
- How to measure your ring size at home: four reliable methods
- How to read a ring size conversion chart
- Expert tips for getting an accurate measurement every time
- Key Takeaways
Why ring size matters more than most people think
Ring size refers to the inner circumference or diameter of a ring, calibrated to fit a specific finger without slipping off or cutting off circulation. Get it wrong by even half a size and the difference is noticeable every single day.
A properly fitted ring stays put during normal activity but slides off without a fight. Too tight, and it leaves pressure marks and can be painful to remove. Too loose, and it spins constantly or, worse, slides off unnoticed.
A few things most people overlook:
- Hand dominance: Your dominant hand’s fingers tend to run about half a size larger, so always measure the specific finger on the hand where the ring will live.
- Knuckle size: If your knuckle is noticeably wider than the base of your finger, a ring sized only for the base will get stuck at the knuckle.
- Band width: Wider bands fit tighter because they cover more skin. For bands wider than 4mm, sizing up is the standard recommendation.
- Finger shape: Slim fingers with pronounced knuckles need a different approach than uniformly cylindrical fingers.
A ring that fits correctly also holds its shape better over time. One that’s forced on and off repeatedly puts stress on the metal, especially on thinner or more delicate designs like those in the Trinitycarter rings collection.
How to measure your ring size at home: four reliable methods
Method 1: The string or paper strip method
This is the most accessible approach and requires nothing you don’t already own.
- Cut a thin strip of paper or use a piece of non-stretchy string, at least 4 inches long.
- Wrap it snugly around the base of the finger you plan to wear the ring on.
- Mark the point where the strip meets itself with a pen.
- Lay it flat and measure from the end to your mark in millimeters using a ruler.
- Match that measurement to a ring size conversion chart to find your US size.
Avoid stretchy materials like elastic or yarn. They compress under tension and give you a reading that’s too small.
Method 2: Printable ring size chart
Printable charts from Brilliant Earth and Kay are among the most widely trusted resources for at-home sizing. Both include a reference ruler so you can confirm the print came out at true scale before you rely on it.
- Download the chart and set your printer scaling to “100%” or “none.” Never use “fit to page.”
- Print on standard 8.5 x 11-inch paper and verify the reference ruler matches a real ruler.
- Cut out the sizer if it’s a paper strip style, or use the circle guide if matching an existing ring.
- Wrap or place accordingly and read your size directly from the chart.
Incorrect printer scaling is the single most common reason printable charts give wrong results.
Method 3: Using a ring you already own

Select a ring that fits the intended finger comfortably. Place it flat on a surface and measure the widest internal diameter in millimeters. Then match that figure to a conversion chart. Alternatively, print a sizing chart at 100% scale and place the ring over the printed circles until the inner edge aligns with one of them.
This method is especially useful when buying a gift without the recipient knowing.
Method 4: Physical ring sizer
An adjustable plastic ring sizer slips over your finger like a real ring. Tighten it until it sits snugly at the base without pressure, confirm it can still pass over your knuckle, and read the size marked on the tool. No math, no rulers, no conversion needed.

How to read a ring size conversion chart
US ring sizes run on a numeric scale with multiple increments, including half and quarter sizes. UK sizes use letters. European sizes are based on the ring’s inner circumference in millimeters. When shopping internationally or from a brand that lists sizes differently, a conversion chart prevents costly mistakes.
US Size corresponds approximately to inner diameters and circumferences that increase progressively, with equivalent UK sizes represented by letters.
When your string measurement lands between two sizes, always go with the larger one. A slightly loose ring is far easier to adjust than one that won’t clear your knuckle.
Expert tips for getting an accurate measurement every time
Timing, temperature, and technique each affect your reading more than most guides admit.
- Measure late in the day. Finger size peaks toward the end of the day when fingers are at their largest. Morning measurements often run small.
- Avoid temperature extremes. Cold fingers shrink; warm fingers swell. Measure at normal room temperature for a consistent baseline.
- Measure the right finger. Because dominant-hand fingers run larger, a measurement from the wrong hand can put you off by half a size.
- Account for knuckle size. If your knuckle is significantly wider than your finger base, measure both and choose a size in between. The ring needs to clear the knuckle without sitting too loosely once it settles.
- Size up for wide bands. For any band wider than 4mm, plan to go up at least a half size to maintain comfort.
- Repeat your measurement. Take two or three readings on different days and compare. Confirming results against a printable chart across multiple sessions gives you a reliable average.
- When between sizes, go larger. A ring that’s slightly too big can be worn with a ring guard or resized down. One that’s too small may not come off without help.
Pro Tip: If your knuckles are noticeably larger than your finger base, try on a ring at the larger knuckle size first, then check how it feels at the base. The goal is a ring that passes over with gentle resistance and settles securely without spinning.
Key Takeaways
Measuring your ring size at home accurately requires the right method, the right timing, and attention to a few details most people skip.
| Point | Details |
|---|---|
| Use multiple methods | Cross-check string, printable chart, and existing ring results for a reliable average. |
| Print at 100% scale | Incorrect printer scaling is the most common cause of inaccurate printable chart readings. |
| Measure at day’s end | Fingers are at their largest late in the day, giving you the most consistent measurement. |
| Size up between sizes | When your measurement falls between two sizes, always choose the larger for comfort and easy wear. |
| Wide bands need a larger size | For bands wider than 4mm, size up at least half a size to account for the tighter fit. |
Once you know your size, browsing rings becomes a lot more satisfying. Trinitycarter’s Blossom Flowergram Ring and the Triple Crystal Classique Ring are two styles worth sizing up for. Explore the full Trinitycarter rings collection to find a piece that fits both your finger and your style.