

A properly fitting cuff sits at the narrowest part of your wrist, feels secure without pinching, and has a gap sized so it slides on but won’t fall off. Measure just behind your wrist bone with a soft tape or a strip of string, then check that number against the cuff’s inner circumference and gap width before you buy. If you’re not sure where you land, grab a tape measure and follow the steps below before you do anything else.
TL;DR:
- A snug cuff should sit just past your wrist bone with a gap of about 1 to 1.5 inches, matching your wrist measurement plus extra room for comfort.
- Use a soft tape measure or string to accurately record your wrist circumference behind the wrist bone, then compare it to product inner circumference and gap specifications before purchasing.
- Lightly bending sterling silver or gold-filled cuffs is usually safe for minor adjustments, but thin plated or costume cuffs risk damage if bent repeatedly or forcefully.
- If a cuff is too loose, inserting a felt or silicone sleeve is reversible, while slight tightening can be achieved by a gentle inward pinch on suitable metals; avoid over-adjusting.
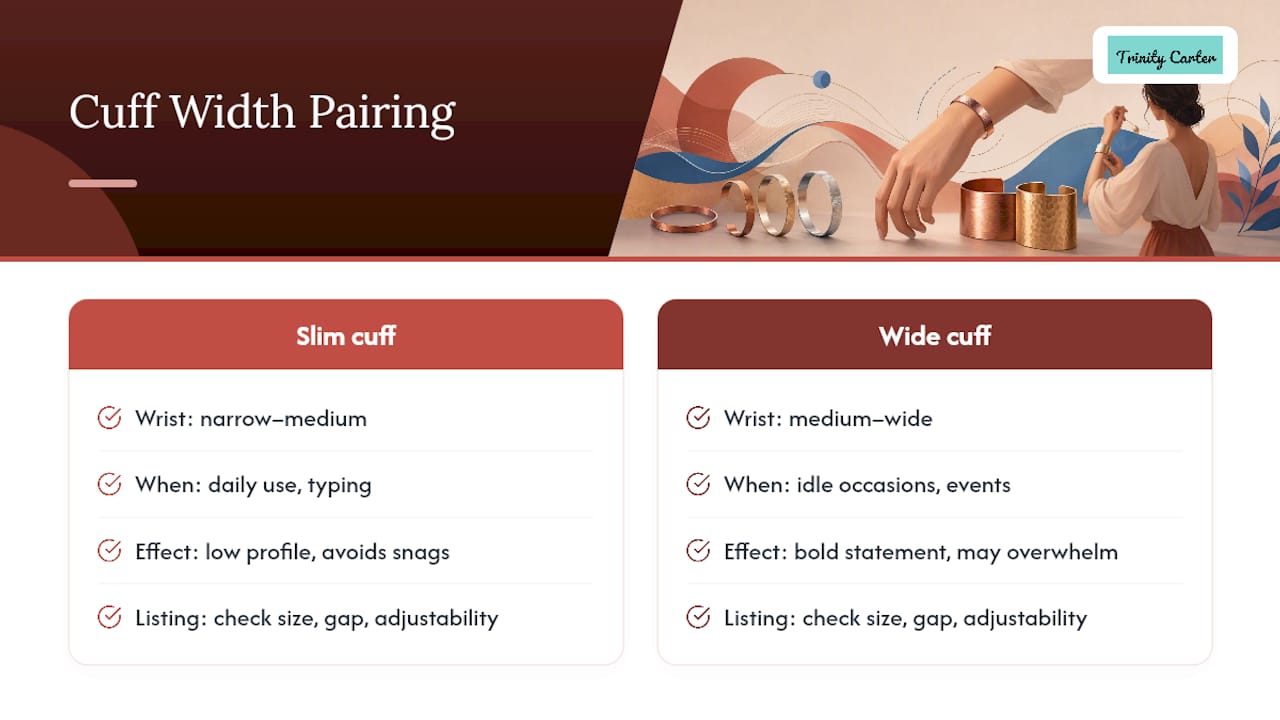
- Width choice impacts comfort and style; narrow wrists may look overwhelmed by wide cuffs, whereas wider wrists can lose impact on slim bands, so match cuff width to wrist size and daily activity.
Table of Contents
- How to Measure Your Wrist for Cuff Bracelet Sizing
- What Inner Circumference, Gap, and Width Actually Mean
- How to Put On and Take Off a Cuff Without Bending It
- Adjusting a Cuff Safely: What Can and Can’t Be Bent
- Fixing a Cuff That’s Too Loose or Too Tight
- Matching Cuff Width to Your Wrist and Lifestyle
- Why Trinity Carter Lists Model Wrist Size and Gap on Every Cuff
- Shop Cuffs Built With Sizing Details You Can Actually Use
- Helpful Sizing Guides and a Printable Chart
- Sources
How to Measure Your Wrist for Cuff Bracelet Sizing
Getting an accurate wrist measurement takes about thirty seconds, and it’s the single most useful thing you can do before buying any cuff.
- Find your tools. A soft fabric tape measure works best. No tape? A piece of string or a strip of paper plus a ruler does the same job.
- Locate the spot. Wrap the tape just behind your wrist bone, toward your elbow, since that’s roughly where the cuff will actually rest once you’re wearing it.
- Keep tension snug, not tight. You want the tape resting against skin without indenting it. Too loose and you’ll overestimate your size.
- Read the number in both units. Most cuff bracelet sizing charts list inner circumference in inches, though some brands use centimeters, so note both if you can.
- Measure your hand only if needed. If a cuff design requires sliding fully over your hand rather than opening at the wrist, you’ll also want your hand’s widest point, since hand width matters far less for open cuffs than it does for bangles.
- Write the number down. Seriously. You’ll want it open on your phone when you’re comparing product pages later.
What Inner Circumference, Gap, and Width Actually Mean
Product pages throw around three measurements, and confusing them is the fastest way to order the wrong size.
- Inner circumference is the distance around the inside of the cuff when closed. For slim cuffs, look for roughly 0.25 to 0.5 inches more than your wrist measurement. Wider cuffs need more room since they wrap a larger surface against your arm.
- Gap or opening is the space between the two cuff ends. Many open cuffs work well with a gap of about 1 to 1.5 inches, wide enough to slide on but not so wide that the cuff spins loosely or slips off.
- Width changes how much ease you need. A quarter-inch bangle-style cuff can sit close to your skin, but a chunky 1-inch statement cuff needs breathing room to avoid digging into your wrist when you bend it.
Product photos help too. When a listing notes the model’s wrist size and how the cuff sits on camera, that visual reference can tell you more than the spec sheet alone.
How to Put On and Take Off a Cuff Without Bending It
Cuffs aren’t hinged like bangles, so technique matters more than people expect.
- Angle the opening toward the underside of your wrist. Slide the cuff over your wrist bone at a slight tilt rather than pushing it straight on.
- Widen the gap slightly only if needed. If the metal has some flexibility, ease the opening a touch wider with a cloth wrapped around each end to protect the finish, and only do this once or twice.
- Center it above the wrist bone. The cuff should rest just past the bone without rocking or spinning when you move your hand.
- Reverse the motion to remove it. Tilt and slide it off the same way it went on. Never pry or twist, since that’s how plating cracks and metal warps.
For more on positioning a statement piece throughout the day, our guide on wearing a statement cuff bracelet covers the details.
Adjusting a Cuff Safely: What Can and Can’t Be Bent
Not every cuff tolerates reshaping, and guessing wrong can ruin a piece you love.
Sterling silver and some gold-filled cuffs handle light adjustment reasonably well because the base metal has some give. Delicate plated finishes and thin costume metals are a different story. Bend those and you risk cracking the plating or leaving a visible kink that never smooths out.
If your cuff falls into the adjustable category, wrap the ends in a soft cloth, then apply small, even pressure with padded pliers or by pressing gently around a jewelry mandrel. Work in tiny increments and recheck the fit after each adjustment rather than trying to nail it in one move.
Pro Tip: Limit yourself to one or two small tweaks total. Every bend fatigues the metal a little more, and repeated flexing is the top reason plated cuffs eventually crack or lose their shape. If a cuff needs more than a minor nudge, contact the seller about an exchange instead.
Curious about adjustable designs built for this kind of fine tuning? Our adjustable gold bracelet style guide walks through pieces designed with flexibility in mind.
Fixing a Cuff That’s Too Loose or Too Tight
A cuff that doesn’t fit right isn’t always a lost cause, but some fixes are better left alone.
- Too loose: A thin strip of felt or a silicone sleeve tucked inside the opening adds quiet padding without altering the metal. It’s a reversible fix you can remove anytime.
- Slightly loose: A small inward pinch at the ends can tighten things, but only attempt this on metals rated for light bending, and stop after one adjustment to avoid metal fatigue.
- Too tight or gap too large: If the opening barely stretches or won’t close enough, that’s a job for a jeweler or a return request, not more bending.
- Buying as a gift: Choose a mid-range size when you’re unsure, and confirm the seller’s exchange policy before you check out.
Matching Cuff Width to Your Wrist and Lifestyle
Width changes how a cuff feels far more than most shoppers expect. A narrow wrist can look overwhelmed under a heavy 1-inch cuff, while a wider wrist can swallow up a thin quarter-inch band and lose visual impact entirely. If you type all day or use your hands constantly, a slimmer, closer-fitting cuff avoids catching on sleeves or desks. Save the wider statement pieces for occasions where you’re not reaching across a keyboard every few minutes.
Whatever range you fall into, check the listing for the model’s wrist size, the gap measurement, and whether the design is adjustable at all. Our styling guide for cuff bracelets breaks down how width pairs with different sleeve lengths and layering choices.
Why Trinity Carter Lists Model Wrist Size and Gap on Every Cuff
We build sizing transparency into every listing because guesswork is the reason returns happen in the first place. Each product page notes the model’s wrist measurement, the gap, and whether the piece allows adjustment, so you’re comparing real numbers, not a photo alone. Before you buy, measure your wrist, check it against the listed gap, and glance at the model’s size for context. If your measurement lands between sizes, reach out to our customer service team. They’d rather help you get it right the first time than process a return later.
— Trinity
Shop Cuffs Built With Sizing Details You Can Actually Use
Trinity Carter’s product pages spell out model wrist size, gap measurement, and adjustability for every cuff, so you’re not left guessing between two similar-looking listings. Once you’ve measured, browse the Bracelets collection and compare your number against each listing’s specs.

The Essential V Bracelet is a good example of what to look for: clear sizing notes right on the page, so you know exactly what you’re ordering before it ships. If your measurement sits right between two sizes, choose the closer one and message our support team. We’ll help you land on the right fit rather than leave you stuck with an exchange down the road. And once your cuff arrives, a piece like this deserves proper storage, not a jewelry box drawer where it tangles with everything else. A dedicated jewelry safe keeps it protected between wears.
Helpful Sizing Guides and a Printable Chart
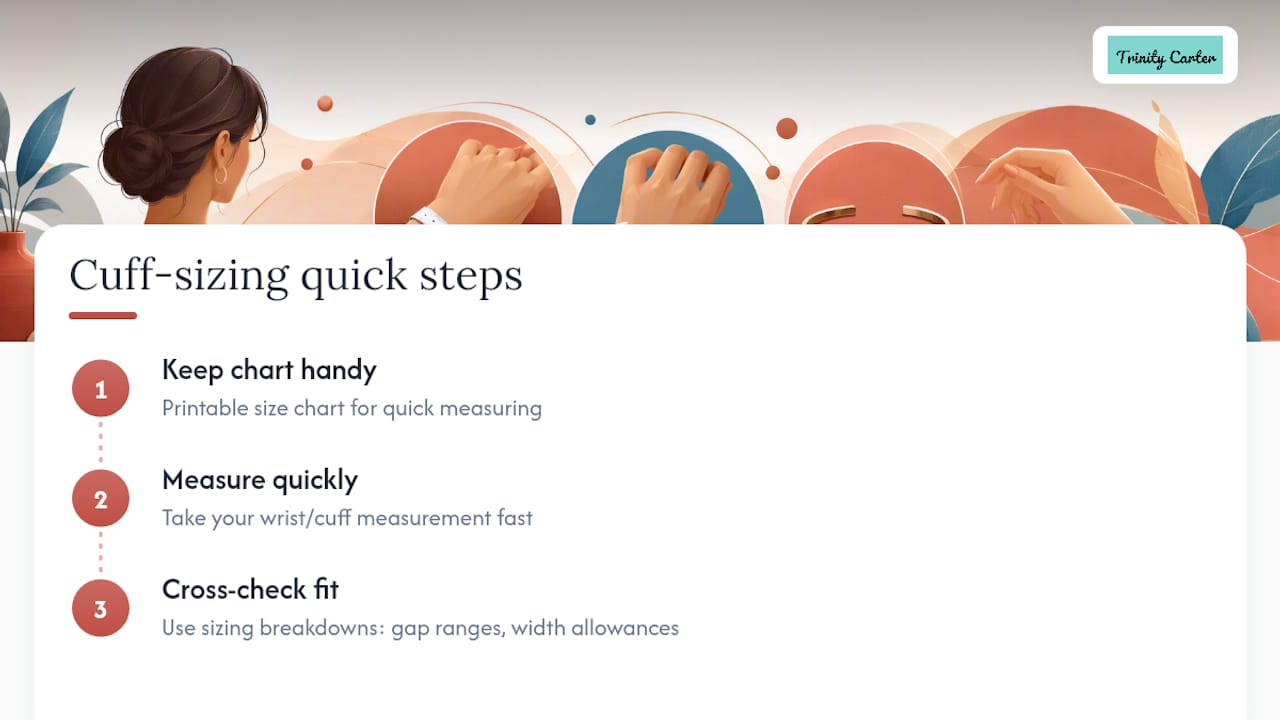
Keep a printable size chart on hand for quick measuring, and cross-check your numbers against detailed sizing breakdowns covering gap ranges and width allowances for different cuff styles.
Sources
- Bracelet size guide: how to find the right fit for bangles, cuffs, and chains
- The Ultimate Cuff Bracelet Size Guide: Find Your Perfect Fit
- Cuff Bracelet Sizing
- PRINTABLE-BRACELETS-SIZE-GUIDE.pdf
